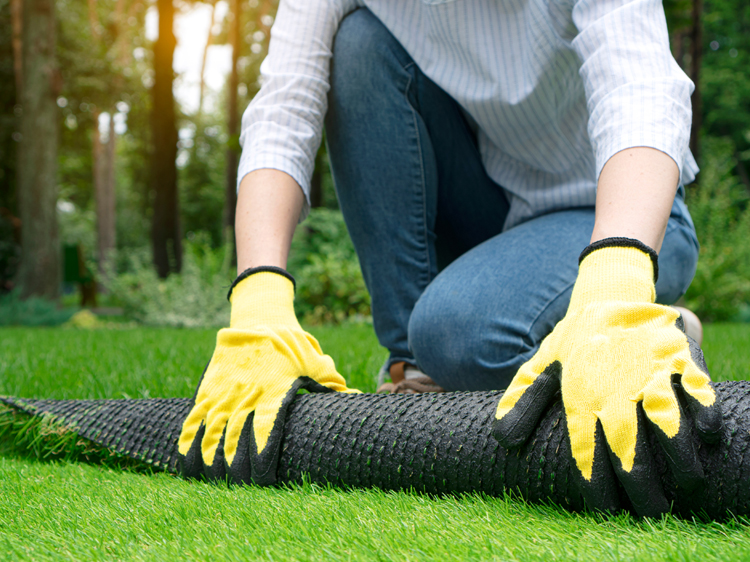
Contrary to popular belief, you don’t need the help of a professional synthetic grass installer to create the best putting greens to your yard. You can do it yourself. Not only will it save you money, but it’ll also give you the free rein over your green’s layout and design. Just make sure to avoid these common DIY problems.
Common DIY Problems and How to Solve Them
Artificial grass installation problems are easy to prevent, especially if you plan the process properly. The first step to avoiding them is awareness. Below are the top issues associated with DIY synthetic turf installation along with their solutions. Make sure you’re familiar with them before you start creating your backyard putting green.
-
Choosing the wrong type of artificial grass
There’s more to synthetic turf selection than considering its color, texture, and pile height. Thanks to artificial grass technologies, most synthetic turfs nowadays are designed for specific purposes. Pick the wrong turf type for your green, and you’ll risk diminishing the quality of your play.
How to solve: Look for artificial grass for the best putting greens when you visit your go-to supplier. Narrow down your options by determining whether you are creating a recreational or professional putting green.
-
Placing the artificial grass on top of the ground
Forgoing ground preparation and skipping straight to installing synthetic grass on top of soil or existing turf is a recipe for disaster. The end result? An uneven putting green that offers subpar golfing experience. It’s a sure-fire way to waste top-quality artificial turf.
How to solve: Excavate the installation site. Rent a turf cutter from your local tool shop (or invest in one) to get rid of the surface. Remove at least three inches below the height of your yard in areas that drain normally. Get rid of a minimum of four inches if the area features poor drainage.
-
Keeping soft spots during excavation
Areas that sink under your body weight are called soft spots. They must be removed during the excavation process, otherwise their areas may sink during or some time after installation. It’s an issue that not even the best artificial turf can cover.
How to solve: Test the excavated area for soft spots by walking over it. Stay in one spot for a minute or two. If you find a soft spot, excavate it and fill it with a sub-base material.
-
Forgoing a weed membrane
While synthetic turf mitigates weed growth, that doesn’t mean that it will totally eradicate the problem. Most DIYers who assume this don’t integrate a weed membrane into their installation. It’s usually only a matter of time before the pesky plants flourish through the synthetic turf.
How to solve: Add a weed membrane in the subgrade. If your yard is home to persistent weeds, consider adding two layers of weed membrane. Install one on the subgrade and the other on the laying course.
Install Synthetic Grass Like a Pro
Establish the steps of your installation process and make sure they’re free of these DIY mistakes. Aim to get everything right the first time. Invest in the best artificial turf in San Jose to enjoy the full benefits of synthetic grass— from its realistic texture and evergreen looks to its incredible durability and easy upkeep requirements.